
🎉 Welcome to the world of WordPress! Are you feeling overwhelmed by the maze of options in your new website’s dashboard? Don’t worry, you’re not alone. Many beginners find themselves lost in the sea of menus, buttons, and settings that make up the WordPress dashboard.
But here’s the good news: mastering the WordPress dashboard is easier than you think. With a little guidance, you’ll be navigating this powerful tool like a pro in no time. Whether you’re a budding blogger, a small business owner, or just someone looking to create their own corner of the internet, understanding the WordPress dashboard is your first step to success.
In this beginner’s guide, we’ll walk you through every nook and cranny of the WordPress dashboard. From the basics of what it is and why it matters, to a detailed exploration of its key components like posts, pages, media, and more. By the end of this post, you’ll have the confidence to take control of your website and unleash your creativity. So, let’s dive in and demystify the WordPress dashboard together! 🚀
What is the WordPress dashboard?
Understanding the WordPress Dashboard
The WordPress dashboard is the central hub of your website’s management system. It’s the first screen you see after logging into your WordPress site, serving as a command center for all your site’s operations.
Key Features of the WordPress Dashboard
- User-friendly interface
- Quick access to essential tools
- Customizable layout
- Real-time site statistics
Components of the WordPress Dashboard
| Component | Function |
|---|---|
| Menu Bar | Navigation to different sections |
| Admin Panels | Specific management areas |
| At a Glance | Overview of site content |
| Activity | Recent site updates |
| Quick Draft | Rapid content creation |
Benefits for Beginners
- Intuitive design for easy navigation
- Centralized control over site elements
- Quick overview of site health and performance
- Streamlined content management process
The WordPress dashboard simplifies website management, allowing even newcomers to efficiently handle various aspects of their site. From creating posts to managing plugins, everything is accessible from this single, powerful interface. As you become more familiar with the dashboard, you’ll discover how it can significantly enhance your workflow and site management capabilities.
Now that we’ve covered the basics of the WordPress dashboard, let’s explore the specific components that make up this versatile tool.
What parts make up the WordPress dashboard?
Main Components of the WordPress Dashboard
The WordPress dashboard is composed of several key components that work together to provide a comprehensive site management experience. Let’s explore these essential parts:
Navigation Menu
The navigation menu is the backbone of the WordPress dashboard, typically located on the left side of the screen. It provides quick access to various sections and features:
- Dashboard Home
- Posts
- Media
- Pages
- Comments
- Appearance
- Plugins
- Users
- Tools
- Settings
Admin Bar
The admin bar is a horizontal strip at the top of the screen that offers quick access to common tasks and information:
- WordPress logo (links to WordPress.org)
- Site name (links to your site’s front end)
- New content creation options
- Comments
- Updates
- User profile
Main Content Area
This central area displays the content and options specific to the section you’re currently viewing. It’s where you’ll spend most of your time working on your site.
Dashboard Widgets
Dashboard widgets provide at-a-glance information and quick access to various features:
| Widget | Function |
|---|---|
| At a Glance | Overview of your content |
| Activity | Recent site activity |
| Quick Draft | Create a new post draft |
| WordPress Events and News | Latest WordPress updates |
Screen Options and Help
Located at the top right of most screens, these features allow you to customize your view and access contextual help for the current section.
Now that we’ve covered the main components of the WordPress dashboard, let’s take a closer look at the dashboard home screen, where you’ll find an overview of your site’s activity and quick access to common tasks.
The dashboard home screen
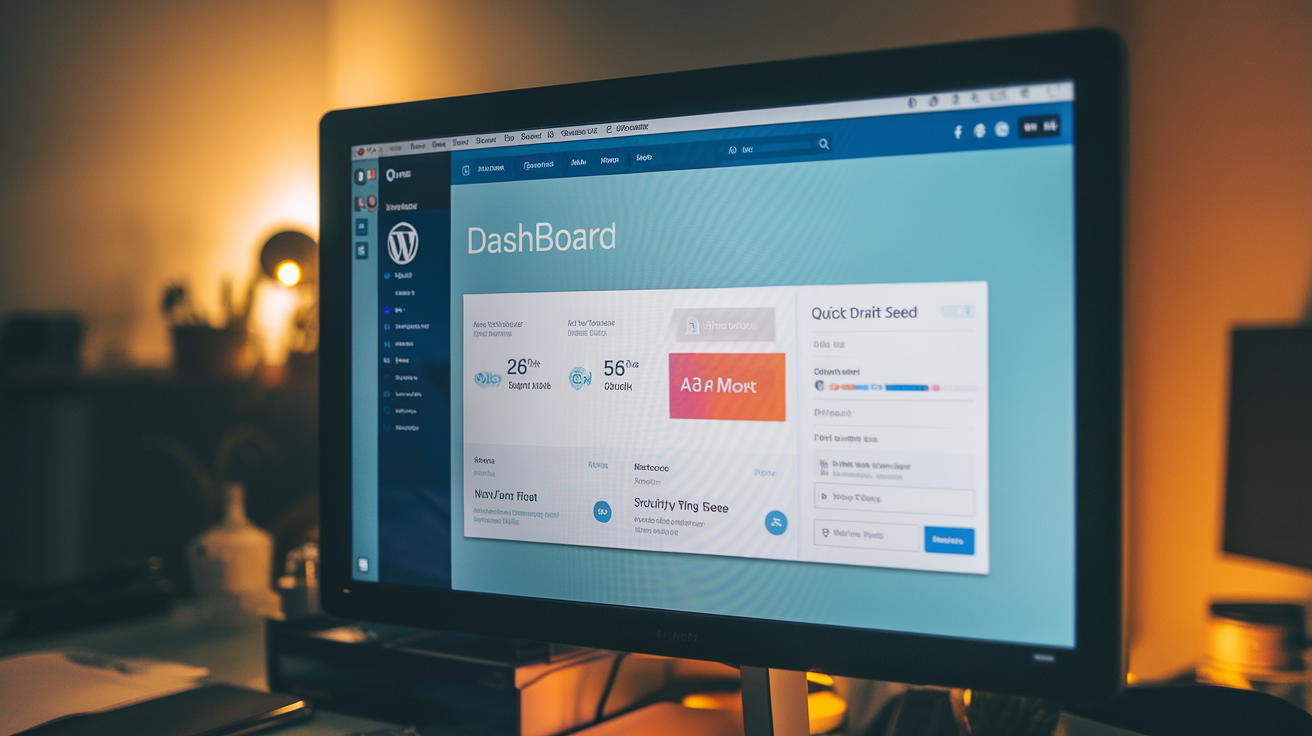
The At a Glance Widget
The “At a Glance” widget provides a quick overview of your website’s content. Here’s what you’ll find:
- Total number of published posts
- Total number of published pages
- Number of comments (including those awaiting moderation)
- Current WordPress version
This widget helps you keep track of your site’s growth and ensures you’re using the latest WordPress version for security and features.
Activity Widget
The Activity widget shows recent actions on your site:
- Recently published posts
- Recent comments
- Upcoming scheduled posts
This feature helps you stay informed about your site’s latest updates and interactions.
Quick Draft Widget
The Quick Draft widget allows you to jot down ideas quickly:
- Enter a title
- Write a brief content
- Click “Save Draft”
Your draft will be saved and accessible in the Posts section for later editing.
WordPress Events and News
Stay updated with the WordPress community:
| Type | Description |
|---|---|
| Events | Upcoming WordPress meetups and conferences |
| News | Latest WordPress updates and announcements |
This widget keeps you connected with the broader WordPress ecosystem.
Now that we’ve explored the dashboard home screen, let’s dive into the Posts section, where you’ll learn how to create and manage your blog content.
Posts
Creating and Managing Posts
The Posts section is where you’ll spend a significant amount of time when managing your WordPress site’s content. Here’s what you need to know:
Adding a New Post
To create a new post:
- Click on “Posts” in the left sidebar
- Select “Add New”
- Enter your post title
- Write your content in the main editor
- Add categories and tags
- Set a featured image (optional)
- Preview your post
- Publish or schedule for later
Managing Existing Posts
The Posts screen allows you to:
- View all your posts
- Edit existing posts
- Quick edit post details
- Move posts to trash
- Filter posts by date, category, or status
Post Editor Features
| Feature | Description |
|---|---|
| Block Editor | Add various content blocks like text, images, and videos |
| Formatting Options | Apply bold, italic, alignment, and more |
| Revisions | Track changes and revert to previous versions |
| Categories & Tags | Organize your content for easy navigation |
| Featured Image | Set a main image for your post |
Post Settings
On the right sidebar of the post editor, you’ll find important settings:
- Status & Visibility: Set publish date, visibility, and password protection
- Permalink: Customize your post’s URL
- Categories & Tags: Assign or create new ones
- Featured Image: Set the main image for your post
Now that you understand how to manage posts, let’s explore how to organize them effectively using categories and tags.
Categories and tags
Understanding Categories and Tags
Categories and tags are essential tools for organizing content in WordPress. They help both you and your readers navigate your site more efficiently.
Categories
Categories are broad groupings for your content. They are hierarchical, meaning you can have main categories and subcategories. Here’s a table comparing categories to a filing system:
| Filing System | WordPress Categories |
|---|---|
| File Cabinet | Main Category |
| Drawer | Subcategory |
| Folder | Individual Post |
Key points about categories:
- Every post should be assigned to at least one category
- Create a limited number of categories (usually 5-10)
- Use clear, descriptive names for categories
Tags
Tags are more specific keywords that describe the content of your post. Unlike categories, tags are non-hierarchical and can be used more freely. Here’s how to use tags effectively:
- Use multiple tags per post
- Keep tags short and relevant
- Use tags consistently across posts
- Avoid creating too many unique tags
Using Categories and Tags Together
To maximize the organizational power of categories and tags:
- Start with broad categories
- Use tags for specific details
- Analyze popular tags to identify potential new categories
- Regularly review and update your taxonomy
By mastering categories and tags, you’ll create a well-organized site that’s easy for visitors to explore and for search engines to understand. Next, we’ll delve into managing media files in WordPress, another crucial aspect of content management.
Media
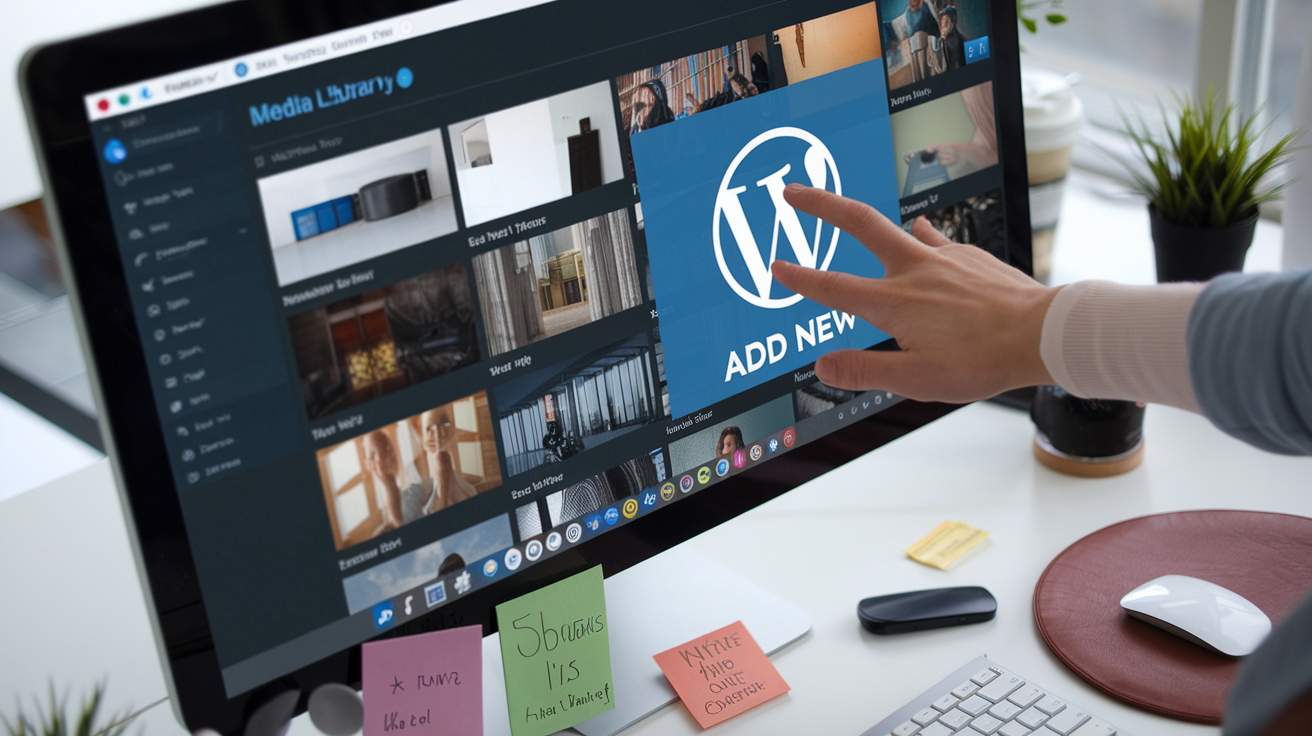
Managing Your Media Library
The Media Library in WordPress is a centralized hub for all your digital assets. It’s where you can upload, organize, and manage various types of media files such as images, videos, audio, and documents.
Uploading Media
To add new media to your WordPress site:
- Click on “Media” in the dashboard menu
- Select “Add New” or drag and drop files directly
- Choose files from your computer
- Wait for the upload to complete
Organizing Your Media
Keeping your media organized is crucial for efficient content management:
- Use the list or grid view to browse your media
- Search for specific files using the search bar
- Filter media by date or file type
- Create custom folders (with certain plugins) for better organization
Using Media in Your Content
Here’s how to incorporate media into your posts and pages:
| Method | Description |
|---|---|
| Direct Upload | Upload media while editing a post/page |
| Media Library | Insert previously uploaded media from the library |
| Featured Image | Set a main image for posts or pages |
Editing and Managing Media
WordPress offers basic editing tools for your media:
- Crop, rotate, or flip images
- Edit image titles, captions, and alt text
- Delete unnecessary media to free up space
Remember to optimize your media for web use to improve your site’s loading speed and overall performance.
Now that you’ve learned how to manage your media effectively, let’s explore how to create and organize static content using WordPress Pages.
Pages
Creating and Managing Pages
Pages are essential elements of your WordPress website, typically used for static content like “About Us,” “Contact,” or “Services.” Unlike posts, pages are not part of the chronological blog stream and are meant for timeless content.
Adding a New Page
To create a new page:
- Navigate to “Pages” in the dashboard sidebar
- Click “Add New”
- Enter your page title and content
- Use the block editor to add various elements
- Set page attributes (parent page, template)
- Publish or save as draft
Organizing Pages
Proper organization enhances user navigation:
| Method | Description |
|---|---|
| Hierarchy | Create parent-child relationships |
| Menu | Add pages to your site’s navigation menu |
| Templates | Apply different layouts to pages |
Page vs. Post: Key Differences
- Pages are for static content
- Posts are for dynamic, chronological content
- Pages can be hierarchical; posts cannot
- Pages don’t use categories or tags
Best Practices for Page Management
- Use clear, descriptive titles
- Optimize content for SEO
- Regularly update important pages
- Ensure consistent formatting across pages
With a solid understanding of pages, you’re ready to create a structured, user-friendly website. Next, we’ll explore how to manage user interactions through the Comments section of your WordPress dashboard.
Comments
Managing Comments
The Comments section in the WordPress dashboard is crucial for engaging with your audience and moderating discussions on your website. Here’s what you need to know:
Comment Moderation
Comment moderation is essential for maintaining a healthy and spam-free environment on your site. WordPress offers several options for managing comments:
- Approve/Unapprove: Review and approve comments before they appear on your site
- Reply: Respond directly to comments from the dashboard
- Edit: Make changes to existing comments if necessary
- Mark as Spam: Identify and remove spam comments
- Move to Trash: Delete unwanted comments
Comment Settings
You can customize your comment settings to streamline the moderation process:
| Setting | Description |
|---|---|
| Hold for moderation | Require manual approval for all comments |
| Comment author must fill out name and email | Ensure commenters provide contact information |
| Users must be registered and logged in to comment | Limit comments to registered users only |
| Automatically close comments on older posts | Disable comments on posts after a specific time |
Comment Notifications
Stay on top of your site’s conversations by configuring comment notifications:
- Email notifications for new comments
- Notifications for comments awaiting moderation
- Custom notification settings for specific post types
By effectively managing your comments, you can foster a vibrant community and improve user engagement on your WordPress site. Next, we’ll explore the Appearance section, where you can customize your site’s look and feel.
Appearance
Themes
When it comes to your WordPress site’s look and feel, themes play a crucial role. The Appearance section of your dashboard offers a variety of options to customize your site’s visual elements.
Exploring and Installing Themes
WordPress provides a vast library of free and premium themes. To find the perfect theme for your site:
- Navigate to Appearance > Themes
- Click “Add New” to browse the theme directory
- Use filters to narrow down your search
- Preview themes before installing
- Click “Install” and then “Activate” to apply the theme
| Theme Type | Pros | Cons |
|---|---|---|
| Free | Cost-effective, Good for beginners | Limited features, Less unique |
| Premium | More features, Better support | Higher cost, Steeper learning curve |
Site Editor
The Site Editor is a powerful tool introduced in WordPress 5.9, allowing for more comprehensive customization of your site’s appearance.
Key Features of the Site Editor:
- Full Site Editing (FSE) capability
- Block-based theme customization
- Global styles management
- Template editing and creation
Customizer
For themes that don’t support full site editing, the Customizer offers a way to make visual changes to your site in real-time.
Using the Customizer:
- Go to Appearance > Customize
- Explore different sections like Site Identity, Colors, and Menus
- Make changes and see them instantly reflected in the preview
- Save your changes when satisfied
The Appearance section empowers you to create a visually appealing and branded website. Next, we’ll explore how to extend your site’s functionality with plugins.
Plugins
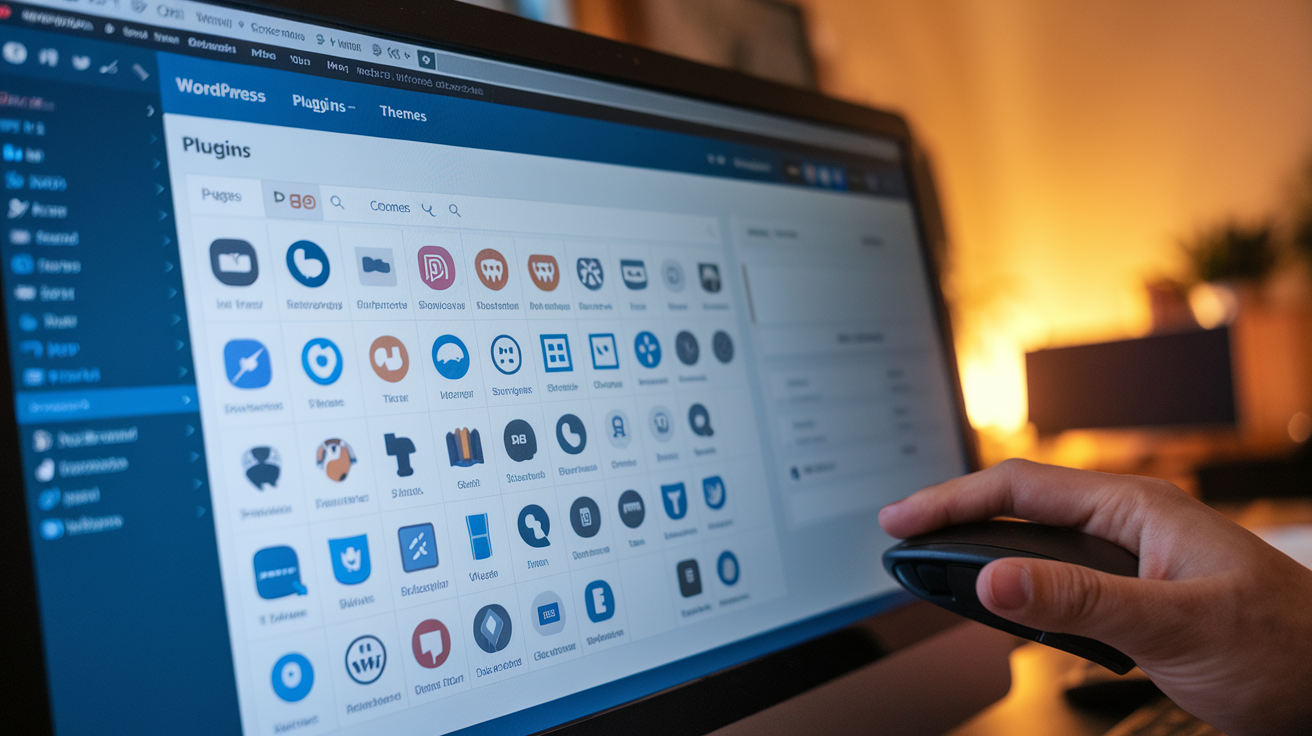
Understanding WordPress Plugins
Plugins are essential components that extend the functionality of your WordPress website. They allow you to add new features and customize your site without modifying the core WordPress code.
Types of Plugins
WordPress plugins come in various categories, each serving different purposes:
- SEO plugins
- Security plugins
- Caching plugins
- Contact form plugins
- E-commerce plugins
Managing Plugins in the Dashboard
The Plugins section in your WordPress dashboard provides a user-friendly interface for managing your site’s plugins. Here’s what you can do:
- Install new plugins
- Activate or deactivate existing plugins
- Update plugins to their latest versions
- Delete unused plugins
| Action | Description |
|---|---|
| Install | Add new functionality to your site |
| Activate | Enable a plugin’s features |
| Deactivate | Temporarily disable a plugin |
| Delete | Permanently remove a plugin |
Best Practices for Plugin Management
- Keep plugins updated for security and performance
- Only install plugins from reputable sources
- Regularly review and remove unused plugins
- Test your site after installing or updating plugins
By mastering the Plugins section, you’ll be able to enhance your WordPress site’s capabilities and tailor it to your specific needs. Next, we’ll explore the Users section, where you can manage the various accounts associated with your WordPress site.
Users
Managing User Roles
In WordPress, user management is crucial for maintaining security and controlling access to your website. The Users section of the dashboard allows you to manage existing users and add new ones with specific roles.
User Roles and Capabilities
WordPress offers several predefined user roles, each with different levels of access and capabilities:
| Role | Capabilities |
|---|---|
| Administrator | Full access to all features |
| Editor | Can manage and publish all content |
| Author | Can publish and manage their own posts |
| Contributor | Can write and manage their posts but not publish |
| Subscriber | Can only manage their profile |
Adding and Managing Users
To add a new user:
- Navigate to Users > Add New
- Fill in the required information (username, email)
- Choose a role from the dropdown menu
- Click “Add New User”
To manage existing users:
- Go to Users > All Users
- Use bulk actions to change roles or delete multiple users
- Edit individual users by hovering over their name and clicking “Edit”
User Profile Customization
Users can personalize their profiles by:
- Adding a profile picture (Gravatar)
- Changing display name and contact information
- Setting language preferences
- Customizing the color scheme of their dashboard
Now that we’ve covered user management, let’s explore the various tools available in the WordPress dashboard to enhance your site’s functionality.
Tools
Export and Import
The Tools section of the WordPress dashboard offers powerful features for managing your site’s data. One of the most useful functions is the Export and Import tool, which allows you to transfer content between WordPress sites or create backups.
Export
The Export tool enables you to:
- Create an XML file containing your posts, pages, comments, custom fields, categories, and tags
- Choose specific content types to export (e.g., only posts or pages)
- Download the exported file for safekeeping or transfer
Import
The Import tool allows you to:
- Bring content from other platforms or WordPress sites into your current site
- Choose from various importers for different platforms (e.g., Blogger, Tumblr, RSS feeds)
- Upload and process the exported file from another WordPress site
Here’s a comparison of Export and Import features:
| Feature | Export | Import |
|---|---|---|
| Direction | Out of your site | Into your site |
| File format | XML | Various (XML, CSV, etc.) |
| Content types | All or selected | Depends on importer |
| Use case | Backups, site migration | Content transfer, site migration |
Site Health
The Site Health tool is crucial for maintaining your WordPress installation’s performance and security. It provides:
- A status overview of your site’s health
- Recommended actions to improve site performance and security
- Detailed information about your WordPress configuration
Key features of Site Health:
- Health check status (Good, Should be improved, or Critical)
- Recommended improvements
- Passed tests
- Info page with technical details about your site
Now that we’ve explored the Tools section, let’s move on to the Settings, where you can fine-tune various aspects of your WordPress site.
Settings
General Settings
The General Settings section in WordPress is the foundation of your site’s configuration. Here, you can set crucial details that affect your entire website:
- Site Title and Tagline
- WordPress Address (URL)
- Site Address (URL)
- Admin Email Address
- Membership options
- Default user role
- Site Language
- Time Zone and Date Format
| Setting | Description | Importance |
|---|---|---|
| Site Title | Your website’s name | High |
| Tagline | Brief description of your site | Medium |
| WordPress Address | URL where WordPress core files are installed | Critical |
| Site Address | URL visitors use to access your site | Critical |
| Admin Email | Primary contact for site notifications | High |
Writing Settings
In the Writing Settings, you can configure options related to creating and publishing content:
- Default Post Category
- Default Post Format
- Post via email settings
Reading Settings
Reading Settings allow you to control how your content is displayed to visitors:
- Homepage display (latest posts or static page)
- Blog pages show at most
- Syndication feeds show the most recent
- Search Engine Visibility
Discussion Settings
These settings manage how visitors interact with your content through comments:
- Default article settings
- Other comment settings
- Email me whenever
- Before a comment appears
- Comment Moderation
- Comment Blacklist
- Avatar settings
By carefully configuring these settings, you can ensure your WordPress site functions exactly as you intend, providing the best experience for both you and your visitors.
Master the WordPress dashboard with this guide
Master the WordPress Dashboard
Now that we’ve covered all the essential components of the WordPress dashboard, let’s explore how you can effectively master this powerful tool. By following these tips and best practices, you’ll be well on your way to becoming a WordPress expert.
Best Practices for Dashboard Management
- Customize your dashboard layout
- Keep your WordPress core, themes, and plugins updated
- Regularly back up your website
- Utilize keyboard shortcuts for efficiency
Key Features to Explore
- Quick Draft: Create and save post drafts directly from the dashboard
- At a Glance: Get a quick overview of your site’s content and status
- Activity: Monitor recent comments and post revisions
Time-Saving Dashboard Widgets
| Widget Name | Purpose | Benefit |
|---|---|---|
| Quick Draft | Rapid content creation | Streamlines blogging process |
| At a Glance | Site overview | Instant insight into site status |
| Activity | Recent site changes | Easy monitoring of updates |
| WordPress Events and News | Stay informed | Keep up with WordPress community |
Optimizing Your Workflow
To make the most of your WordPress dashboard:
- Organize your content using categories and tags
- Set up user roles and permissions for team collaboration
- Implement a consistent publishing schedule using the Editorial Calendar
- Monitor site performance using analytics plugins
By mastering these aspects of the WordPress dashboard, you’ll be able to manage your website more efficiently and effectively. Remember, practice makes perfect, so don’t hesitate to explore and experiment with different features to find what works best for you.
Get started
Take the First Step
Now that you’ve learned about the various components of the WordPress dashboard, it’s time to put your knowledge into action. Here are some practical steps to get you started on your WordPress journey:
- Set up your first post
- Create an “About” page
- Customize your theme
- Install essential plugins
Quick Start Checklist
| Task | Description | Difficulty |
|---|---|---|
| Create a post | Write and publish your first blog entry | Easy |
| Set up an “About” page | Introduce yourself or your business | Easy |
| Choose a theme | Select and customize your site’s appearance | Moderate |
| Install plugins | Add functionality to your WordPress site | Moderate |
Experiment and Learn
The best way to master the WordPress dashboard is through hands-on experience. Don’t be afraid to explore different features and settings. Remember, you can always revert changes if needed. Start with small tasks and gradually tackle more complex ones as you gain confidence.
- Try different post formats
- Experiment with widgets in your sidebar
- Create custom menus
- Set up user roles for team members
By taking these initial steps and continuously exploring the dashboard, you’ll soon become proficient in managing your WordPress site. Remember, every expert was once a beginner, so embrace the learning process and enjoy building your online presence with WordPress.
The WordPress dashboard is a powerful tool that can seem overwhelming at first, but with this guide, you’ll be navigating it like a pro in no time. From managing posts and pages to customizing your site’s appearance and installing plugins, the dashboard puts everything you need to create and maintain a stunning website right at your fingertips.
Remember, the key to mastering WordPress is practice and exploration. Don’t be afraid to experiment with different features and settings – that’s how you’ll truly unlock the platform’s potential. Whether you’re building a personal blog or a professional website, understanding the WordPress dashboard is your first step towards creating an engaging online presence. So dive in, start exploring, and watch your digital creation come to life!